
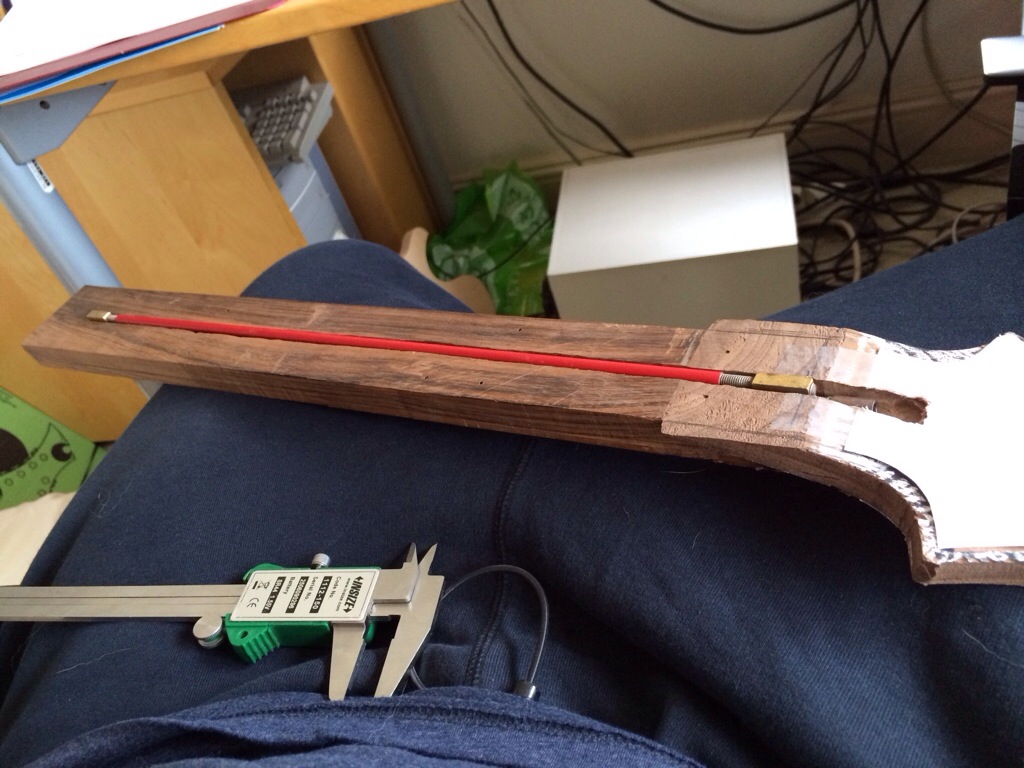
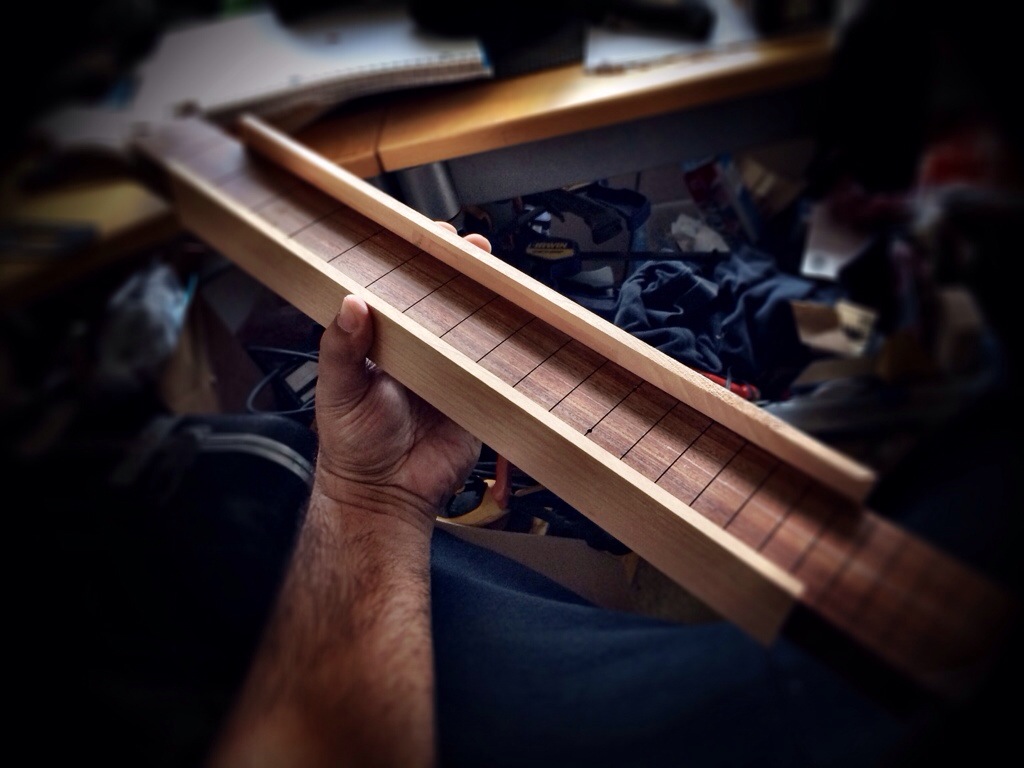
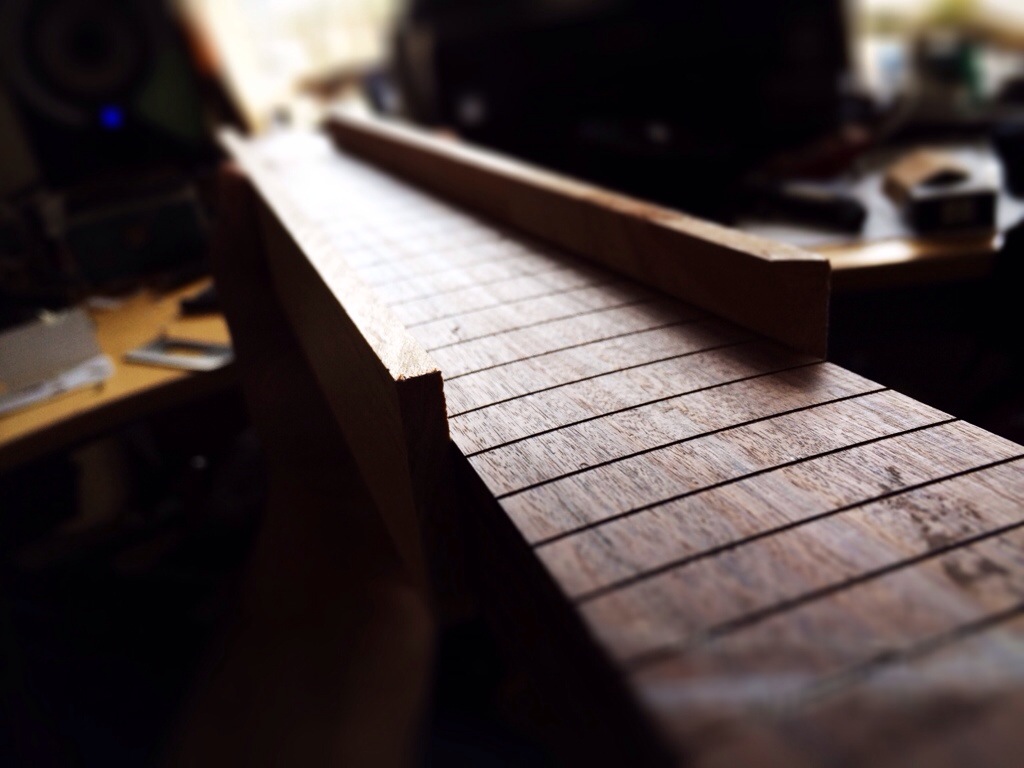
Used mum dremel trio to freehand the truss groove. I’ll make a template for my Bosch router later. This has worked beautifully the previous builds. I then used some silicone to prevent rattle in the groove and I glued the fretboard using straight boards on the sides to hold it in place. Then clamped it down and called it a day. Tomorrow it’s final shaping on the sander and then routing the neck pocket. That has got to be the most stressful part of the build. Afterwards I’ll be able to drill the tuner holes, mark the bridge location and drill for the ferrules. Then a quick string up to mark pickup locations and then finally routing the control and pup cavities and then the output jack. Then comes the finishing process with teak oil and wax. This will be detailed just like my other finishing posts.


Hi, I am also an amateur luthier from Brazil and I use to follow your posts here. I linked you in my blog (http://aprendizdeluthier.blogspot.com.br/).
My process of gluing the fretboard is different and maybe it could help you. First I put the fretboard on the right place. Then I drill some very small guide holes in the first and last fret. After the glue is spreaded, I use nails to put the fretboard in the right place without sliding. Following I clamp the fretboard and take off the nails. The holes will be covered by the fretwire.
Cheers,
Fabiano
Hey fabiano! Thanks for the advice. I did that originally but the fretboard problem was due to the fact that I didn’t route deep enough for the truss rod. So I took a little from the underside of the fretboard and that solved that problem! Thanks for following buddy I’m gonna check out your work when I get home!
Oh, I got it. Anyway, your guitar is getting beautiful. Congratulations!
Busy lately Purelojik ! Nice to see back in luthery mate .